

In this fourth part of Moravilla’s blog we will talk about three main processes that go hand by hand: UV Unwrapping, Texturing and Shading with Nodes. If you are interested in knowing more about our previous processes you can take a look at the rest of our blogs in the news section.
UV Unwrapping
It’s a process that consists of interpreting three-dimensional object in a two-dimensional projection. The way in which I like to explain it is as if it were a cardboard or cereal box in which the artist has to define the cuts or “seams” in order to project the faces in a plane, trying to take advantage of as much space as possible, these projections will work later to texture the object.
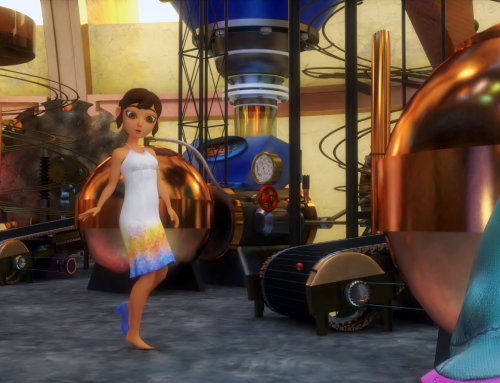
In Blender the easiest way to do UV Unwrapping is to select the edges that are least visible in the animation, such as the sides of the skirt, and mark them as seam. Once all the necessary seams have been marked we will proceed with generating an unwrapp as seen in the gif below.

In order to make the texture simpler for the artist it’s also highly recommended to match the same length of the faces. A simple way to do it in the case of the skirt is through the unwrapp “follow active quads”. To do this we need to align the axes of each edge so that they are completely straight, then select the quad in face mode and finally make the unwrapp to follow the active quads as seen in the following gif.

Once you have a good unwrapp we will export the image as a UV layout with transparency so we can import it into Photoshop and paint the textures.
Texturing
by Miguel Silva
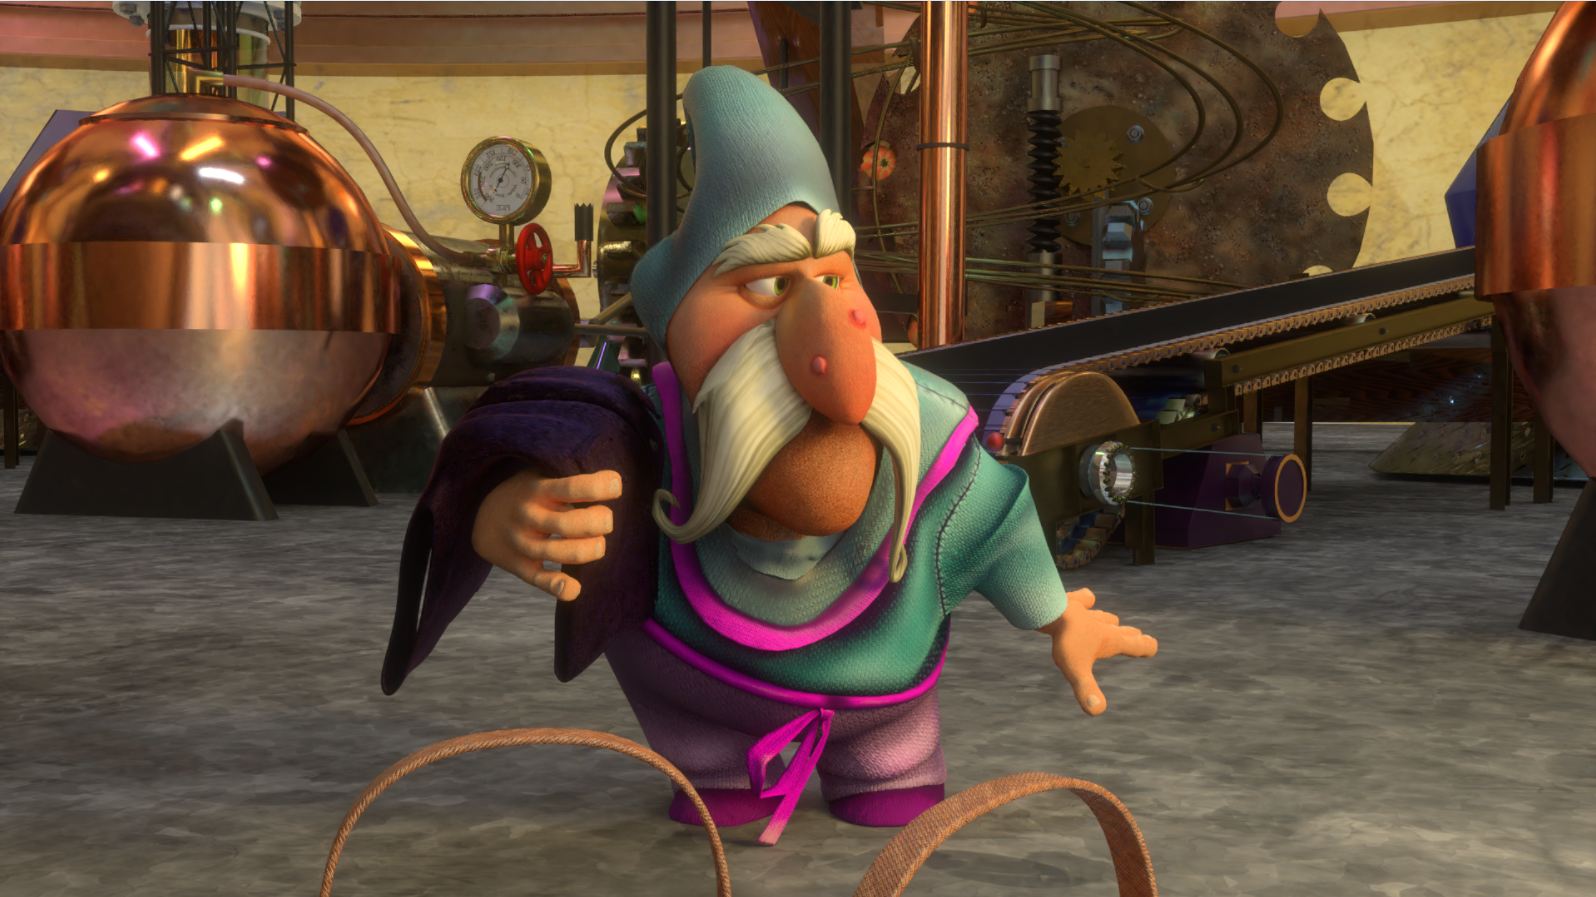
Once the two-dimensional projections are produced, we obtain a plane with all the faces of the 3D objects ready to give it color. Together with our art references and the construction of the characters, we will determine the look appeal of the characters through textures.
But how do we do this?
We import our UVLayout into Photoshop, which being in .png format, the lines formed by the intersections of edges and vertices of the 3D object leave us some islands to fill and areas to ignore, now it’s time to work on our canvas in White.
We have to compare the 2d image with the sculpted 3d sections and figure out the sections where we will illustrate indentations in clothes, fabrics, folds and textile designs. It’s very important to determine where the cuts begin and end, so that the change of tone or the direction of the roughness in the clothing is not so obvious, the endings of the textures must be cloned so that the union is “invisible to the eye”.
The skin of the characters is usually worked with a base color, if we want a blush we work on the section of the face, if we want to put dark circles or makeup shadows we go to the section of the eyes and we illustrate them there; freckles, scars, worn skin and so on will be made in the same way.

Shaders with Nodes
This was one of the most complex parts, since it was one of the ones we knew least when we ventured into the creation of Moravilla, however it was one of the biggest challenges. Shaders are all the properties that can be given to a material or texture, it’s a mixture of endless behaviors that can result in a very realistic or cartoony look. Since the shaders cover a lot of properties that can be covered in one blog, I will only focus on three of the most important shaders used in Moravilla: Diffuse, Glossy and Normal.
Diffuse
It refers to the color of the surface in the texture, in order to work properly with the mixture of nodes it must not have environmental influence or lights. It is translated directly as a flat color.
Glossy
It is interpreted as the brightness that the texture will include, in the case of clothes and the face of the characters it would’t be as bright as for example in the truck, however it is important to realize that any texture must have a Glossy map that is you can control with the Fresnel.
Normal Map
It’s the depth map that has to be included so that an object can have lights and shadows in emboss, without the normal map the object would be as flat as the geometry indicates, in Moravilla several hi-poly models had to be made so they can be translated into a low poly surface and still maintaining the same emboss property as a hi poly object. To see a little more about the hi and low poly process, you can see our previous blog.
Nodes
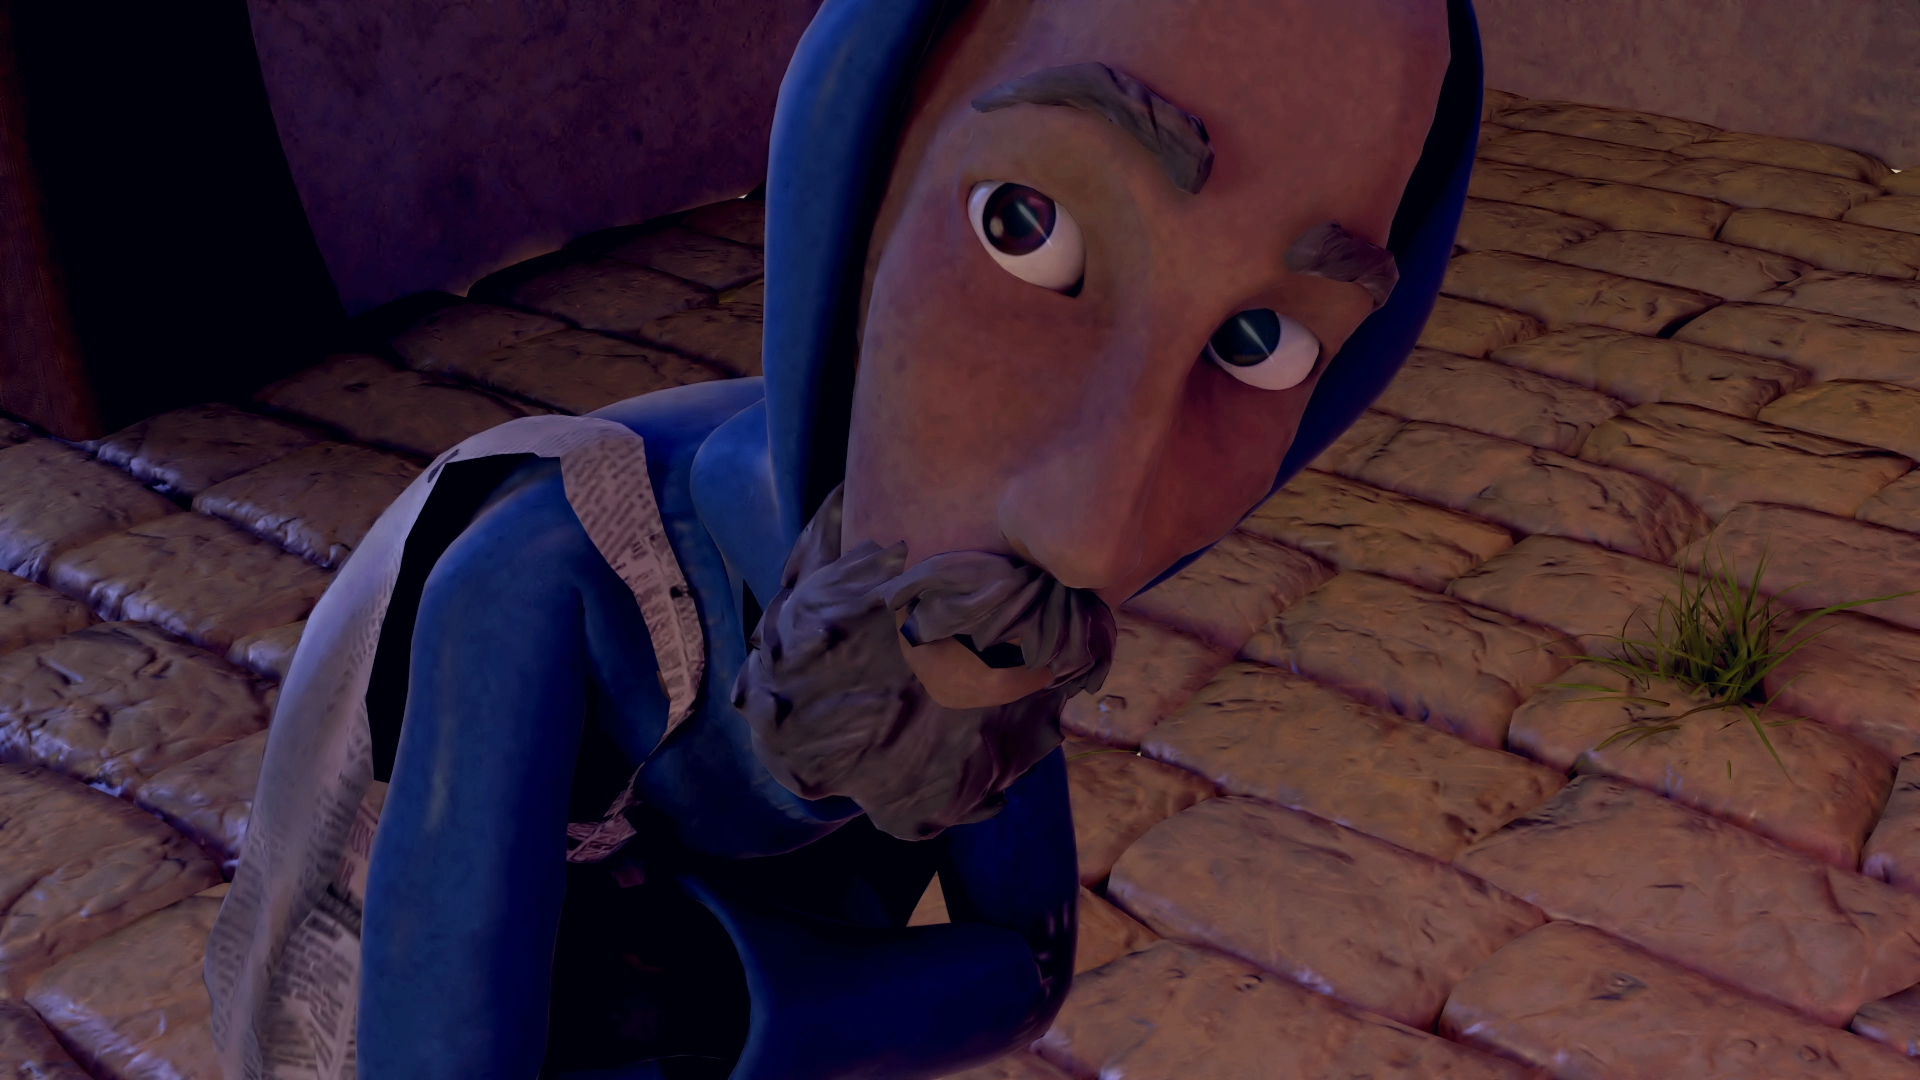
In Blender’s node tab, this is how the shaders were handled in order to generate the visual look of the farmer’s clothes. As you can see, we included the three types of nodes that we showed in the section above, as well as an Hue / Saturation for color correction.

Broadly speaking that was the process we used for Moravilla, but if you are interested in knowing more, you can always subscribe by mail to learn more about this and other processes that will be shown in the following weeks. If this information was useful please share and comment in the section below, feedback and dialogue are what drive us to continue creating content.
Follow us on our social networks:
https://www.facebook.com/SeashellStudiomx/
https://twitter.com/Seashell_Studio
Or contact us by mail:


