
Animatic
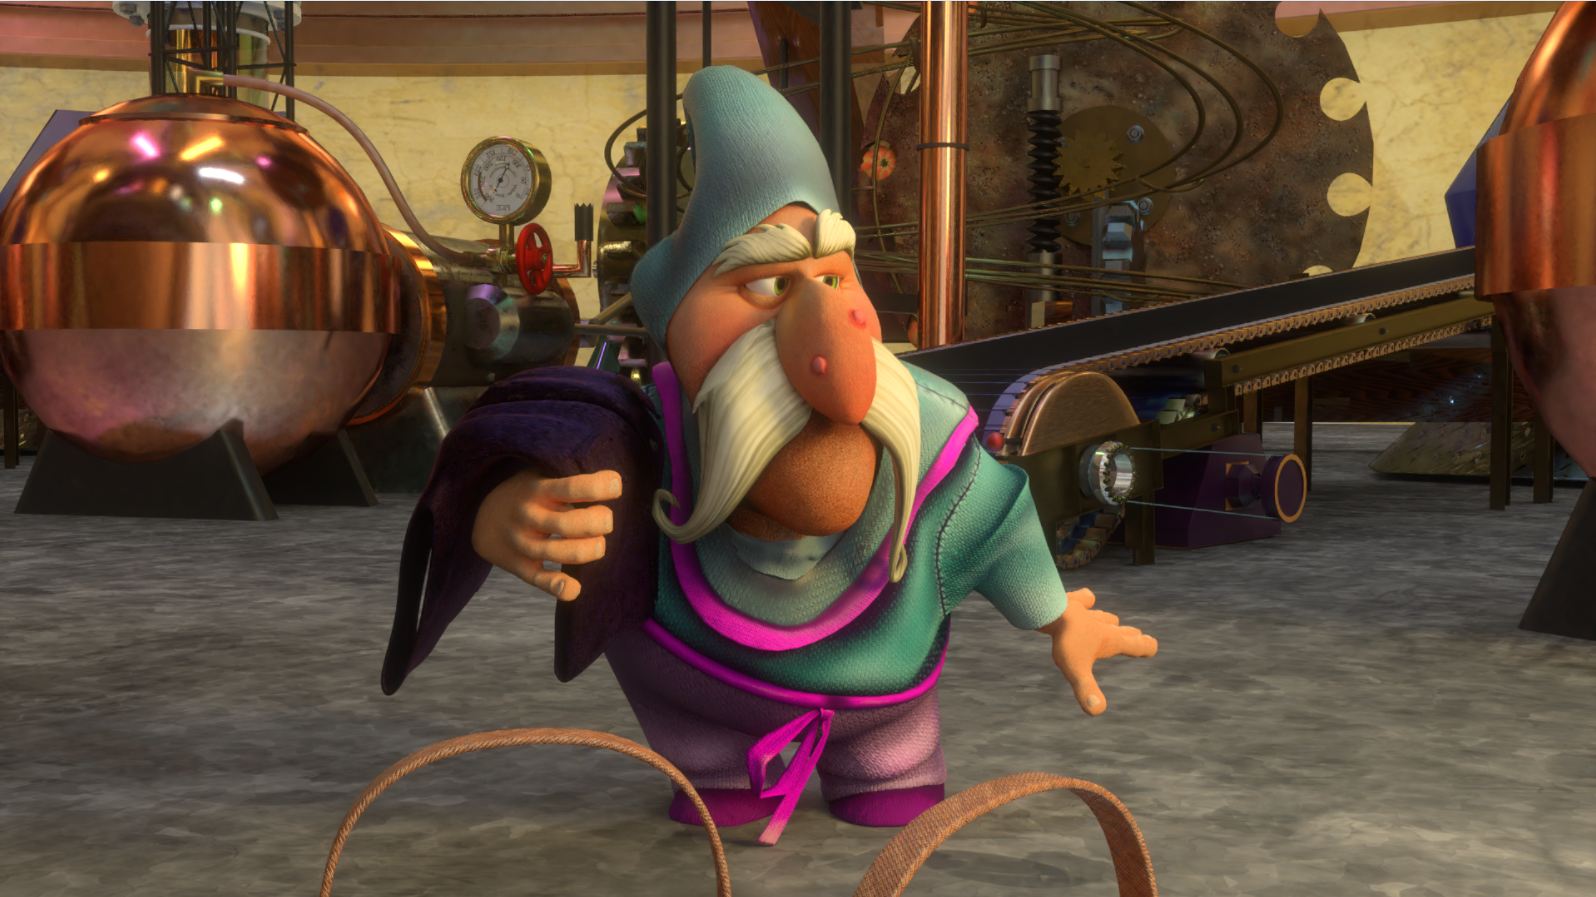
In order to continue with the Moravilla blog that was discussed last week, I will talk about another very important animation process that ocurred after the script: “The Animatic”. Animatic is a video made with drawings or basic figures to measure the timing that will be animated later. Before doing the animatic it is highly advisable to make a storyboard, but due to the three month limitation we had, we decided to go directly to the animatic.
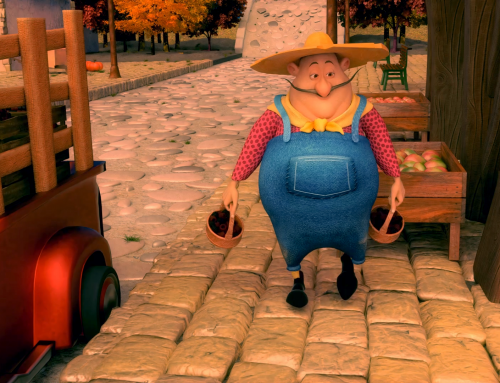
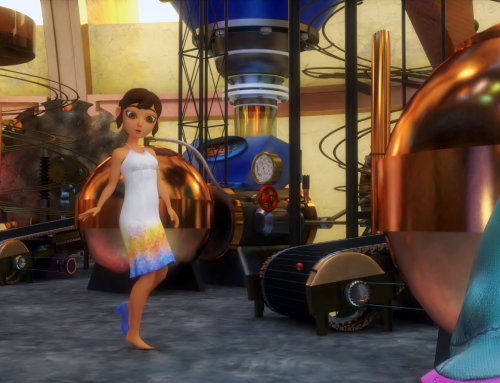
In addition to help defining the timing the animatic also served as Layout, another very important stage of an animated production, but another one we had to unify with the animatic in order to finish in the three month limit we had. The layout consists in defining the shots, and actions that will later become final cuts, unlike live action, the animation can not afford to have more cold material than is needed.
The animatic / layout we did was very important in order to create a comprehensible structure and not be wasting any time on the fly, as well as to avoid continuity errors. It was crucial to check out that the characters were always in their thirds range and to prioritize the story, which is an important point when working in an open world full of technical possibilities.
Workflow
When starting the project we had to identify a workflow that was useful, finally we decided to work in Dropbox using a general folder that included all the necessary files, since the .psd or video tests were handled locally in a separate folder to avoid filling dropbox with unnecessary weight.
Our main tool, as I mentioned in the first part, was Blender, a free software for the production of 3D content with its Cycles render engine, both of which were a key element in the production of Moravilla. However for the creation of an optimal workflow Blender is too liberal, which meant that you can create the folders yourself, unlike Maya where they are created by default when starting a new project. With that in mind, we organized ourselves to create folders with textures, 3d models, and scenarios separately and unify everything in a single master file using Blender’s Link function.
In the following video of the BornCG channel you can see a bit of the linking process.
And that’s it for the second part of the Moravilla’s Devlog, if you want to follow more devlogs you can subscribe by mail or if it was usefull please share and comment in the box below.
Follow us on our social networks:
https://twitter.com/Seashell_Studio
https://www.facebook.com/SeashellStudiomx/
Or contact us at our email:


